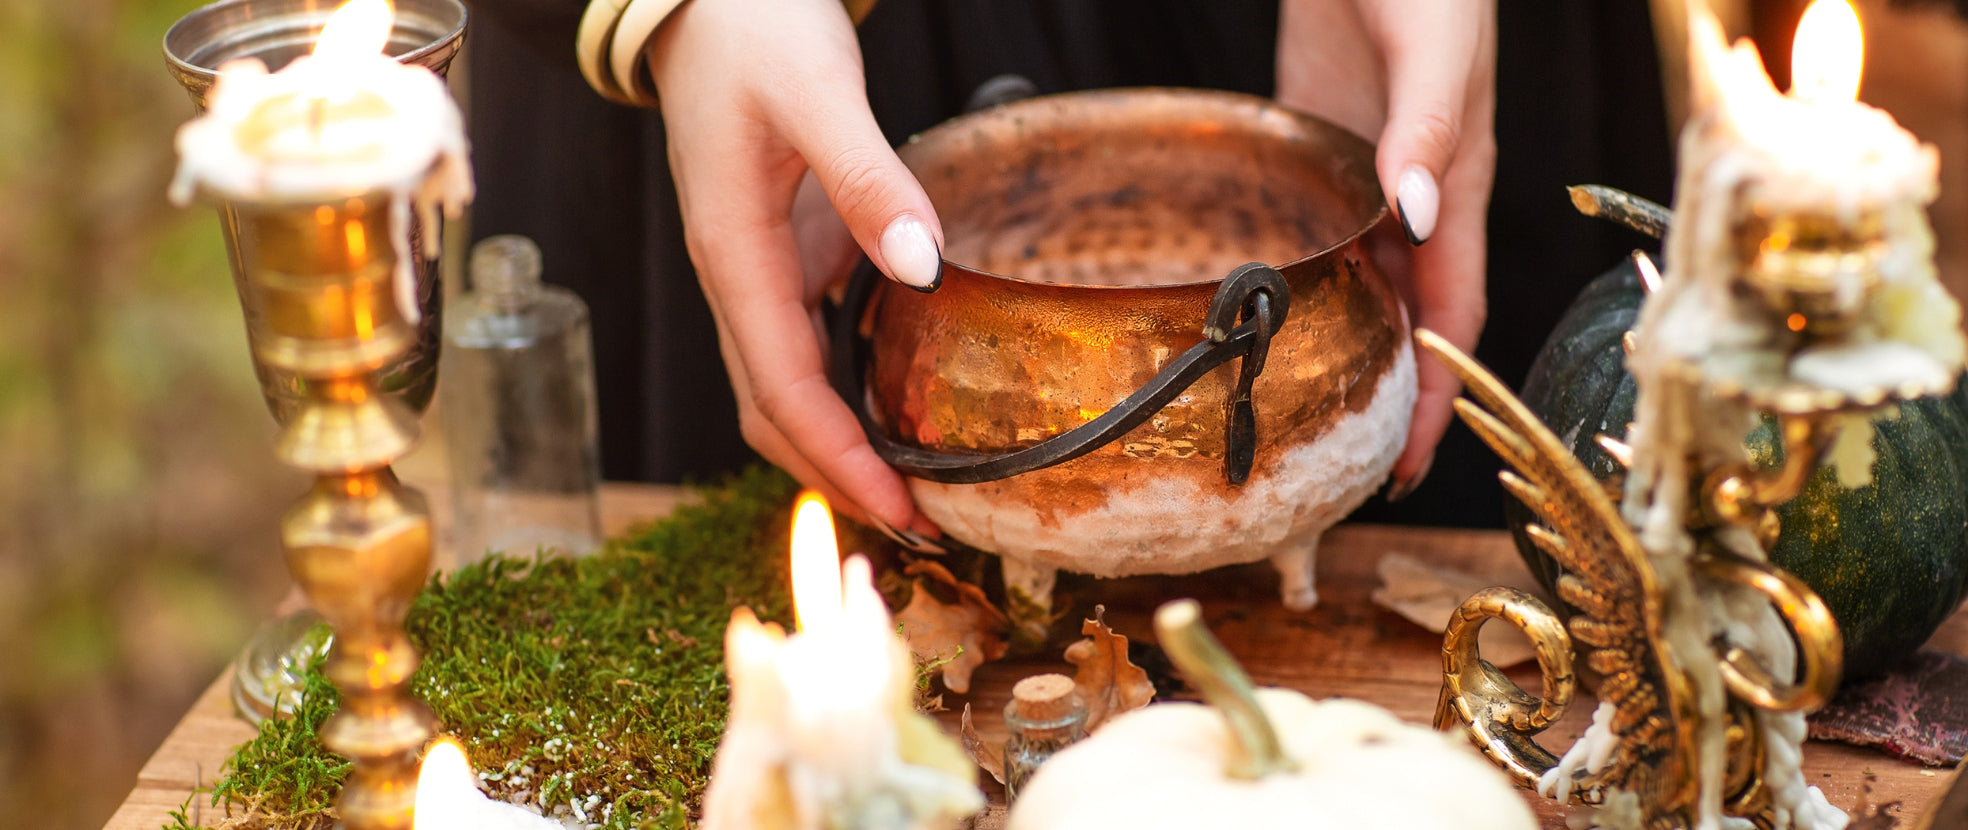
Clean, bright crystal photos drive clicks and conversions—period. You don’t need a DSLR or a full studio. With a window, poster board, and the iPhone in your pocket, you can capture scroll-stopping images that look premium and sell fast.
Quick links: Wholesale Program, Tumbled Stones, Amethyst, Soapstone Carving Kits, Client Success Checklist.
Why Great Photos Move Wholesale Inventory
Your product photo is your first salesperson. A crisp, well-lit crystal image does three things: (1) increases click-through from collections, (2) reduces “Is this what I’m getting?” messages, and (3) lifts conversion rate. Even a 0.5–1.0% bump in conversion compounds across launches and restocks.
- Credibility: Clean light and true colour keep returns down and repeat buyers up.
- Speed: A simple, repeatable iPhone setup means you publish new stock the same day you unbox it.
- AOV: Show detail (banding, inclusions, polish) and bundle suggestions to increase basket size—pair with Tumbles or Amethyst trays.

iPhone Kit: The 10-Minute Setup
You can start with items you already have. This is the minimum effective kit for crystal sellers:
- iPhone (2019+), lens cleaned with a microfiber cloth.
- Window light (north or east-facing is ideal) plus a sheer curtain or baking parchment as a diffuser.
- White poster board (two sheets) or a foam board; one as a backdrop, one as a bounce.
- Clear glass or acrylic sheet (optional) for a subtle reflection effect.
- Painter’s tape and clips to curve the backdrop.
- Lint-free cloth and blower for dust; cotton gloves for polished stones.
iPhone controls to know (no paid apps required):
- Exposure control: Tap to focus, then slide the sun icon up or down to brighten or darken.
- AE/AF Lock: Press and hold on the subject until “AE/AF Lock” appears—this prevents focus/exposure hunting.
- Macro safeguard: If your iPhone jumps to the ultra-wide lens and looks soft, step back slightly and pinch-zoom a little (0.7–1.2×) to force the main lens.
- Live Off for product: Turning Live off reduces micro-blur; use a mini-tripod if available.

Light That Sells: Simple Window Setups
Photography is light. Crystals are literal light sculptures, so your lighting makes or breaks the shot. Here are three reliable setups:
```1) Side-Lit Window (Soft and Dimensional)
- Place a table 1–2 ft from the window; hang a sheer curtain or parchment to diffuse.
- Curve white poster board into an “L” (a sweep) for a seamless background.
- Add a second white board opposite the window to bounce light into shadows.
Best for: Most polished stones, palms, and points.
2) Backlight Glow (Translucent Magic)
- Turn the setup so the window is behind the crystal.
- Raise the piece slightly (small acrylic riser) so light passes through.
- Use a front bounce to retain face detail.
Best for: Selenite, fluorite, citrine—anything that glows.
3) Top-Down Lay-Flat (Batching Speed)
- Place a backdrop on the floor near the window.
- Shoot from above; rotate the board until shadows are minimal and even.
- Use a second board to block any direct glare.
Best for: Assortments, kits, and social media grids.

Set Design for Crystals (Fast + Consistent)
Your goal is clean, brand-consistent images you can reproduce weekly. Keep a simple set library:
- Standard sweep: White or light grey poster board for listing photos.
- Tone alternatives: Warm beige for rose quartz; charcoal for clear quartz and bright fluorite.
- Reflection board: Glass or acrylic sheet on top of the sweep for a subtle premium reflection.
- Props: One natural element (driftwood, leaf) maximum—avoid clutter that fights with facets.
- Scale cues: A discreet ruler card or coin in one frame if selling by size or grade.
Batching workflow: Pre-build the set; then shoot in this order—group shot → hero angle → detail/macro → alternate background (optional). This gives you three to five images per SKU quickly.

Shooting Recipes for Tricky Stones
```Amethyst, Quartz, Citrine (Faceted/Points)
- Angle: 30–45° to the face so facets catch side light.
- Exposure: Tap the brightest facet, then slide exposure slightly down to keep detail.
- Bonus: Add a black card just outside the frame to create crisp edge contrast.
Selenite and Translucent Crystals
- Backlight: Place the window behind; use a bounce card in front to retain vein detail.
- Avoid: Direct overhead light—it kills the glow and flattens texture.
High-Gloss Tumbles and Spheres
- Diffuse hard: Double up the diffuser (sheer plus parchment).
- Reflection control: Raise the phone slightly and tilt 5–10° to avoid harsh specular hits.
- Macro trick: Shoot slightly farther, then crop—this keeps the main lens and sharpness.
Matte/Rough Specimens and Fossils
- Side rake light: Move the window to the side (or angle the board) to enhance texture.
- Background: Mid-grey or charcoal to prevent a chalky look.
Mixed Trays, Kits, Bundles
- Lay-flat grid: Arrange by colour or size; leave breathing room (negative space).
- Hero + detail: One wide for the whole set, then two to three close-ups of the best pieces.
- Cross-sell: Link to Tumbled Stones and the Wholesale Program.

Reflections, Glare & Dust: Fixes That Work
Polished stones are mirrors. Here’s how to reduce glare without Photoshop:
- Double diffusion: Use a sheer curtain plus parchment (or a frosted shower-curtain scrap) between the window and crystal.
- Angle discipline: If you see the window reflected in the stone, change your shooting angle until the bright shape disappears or becomes a pleasing soft rectangle.
- Black flags: Small black cards at the edge of your frame carve darker edges that define shape.
- Cleanliness: Microfiber and a blower before every shot; fingerprints and dust multiply under light.
- AE/AF Lock: Long-press to lock focus/exposure; a tiny exposure slide down preserves highlight detail.

Edit on iPhone: A 60-Second Workflow
Use the built-in Photos editor—fast, consistent, free. Per image:
- Light → Exposure: Nudge up until the background is bright but not blown.
- Highlights: Pull down slightly to recover facet detail.
- Shadows: Lift a touch to open darker sides.
- Contrast: Add a small bump; stop before colours clip.
- Brilliance: Apply a tiny boost for midtone clarity.
- White Balance: Set “Neutral,” or manually warm or cool to match true stone colour.
- Sharpness: +5 to +10; avoid crunchy, over-sharpened edges.
- Crop: Square (1:1) for listings or 4:5 for Instagram; leave margin for consistent grids.
Repeat on three to five images per SKU: hero, detail, alternate angle, group. Save as copies to a dedicated album named by date or collection.
Ops: File Names, Sizes, and Listing Flow
Good photography is half the battle—clean ops gets you live faster and ranked better.
```Naming Convention
sku_stone_type_size_color_view.jpg → AMY-CL-001_amethyst_cluster_M_purple_hero.jpg
- Why: Searchability for your team, consistent alt text, and faster bulk edits.
Image Sizes
- Listings: 1500–2000 px on the long edge, JPG, 75–85% quality.
- Social: 4:5 (1080 × 1350) for feed; square for carousels.
Listing Flow (Repeatable)
- Shoot in batches using the set library.
- Edit with the 60-second workflow; export to a “Ready” album.
- Rename in bulk; upload to Shopify; write concise titles with grade and size.
- Add one to two cross-sell links: Tumbled Stones, Amethyst.
- QA with the Client Success Checklist.

Ready to Upgrade Your Photos?
Set up the window sweep once, then batch-shoot new arrivals the day they land. Start with:
- Add-to-cart: Tumbled Stones (colour grids that convert)
- Feature: Amethyst (hero clusters for your category page)
- Workshop content: Soapstone Carving Kits
- Grow with our Wholesale Program
FAQs: iPhone Crystal Photography
What’s the fastest no-studio setup for iPhone crystal photos?
Use a bright window with a sheer curtain, an L-shaped white backdrop, and a second white board as fill. Tap-hold to lock focus/exposure, then slide exposure slightly down to protect highlights.
```How do I stop harsh glare on polished stones?
Double your diffusion (sheer + parchment), change your shooting angle to remove the reflected window shape, and add small black cards just outside the frame to define edges.
How do I capture the glow in translucent crystals like selenite or fluorite?
Backlight them—put the window behind the crystal, raise the piece slightly, and bounce light from the front so the face doesn’t go muddy.
Which iPhone settings matter most?
Tap to focus, use AE/AF Lock, adjust exposure via the sun slider, turn Live off for product shots, and step back slightly if macro looks soft to force the main lens.
What edits should I do on the iPhone?
In Photos: Small adjustments only—Exposure up a bit, Highlights down a touch, Shadows up slightly, set White Balance to neutral/true, plus light sharpening. Crop square or 4:5.
How many images per product listing?
Aim for three to five: hero (on standard sweep), 45° angle, macro inclusion/texture, in-hand scale or group, optional alternate background. Keep backgrounds consistent across a collection.
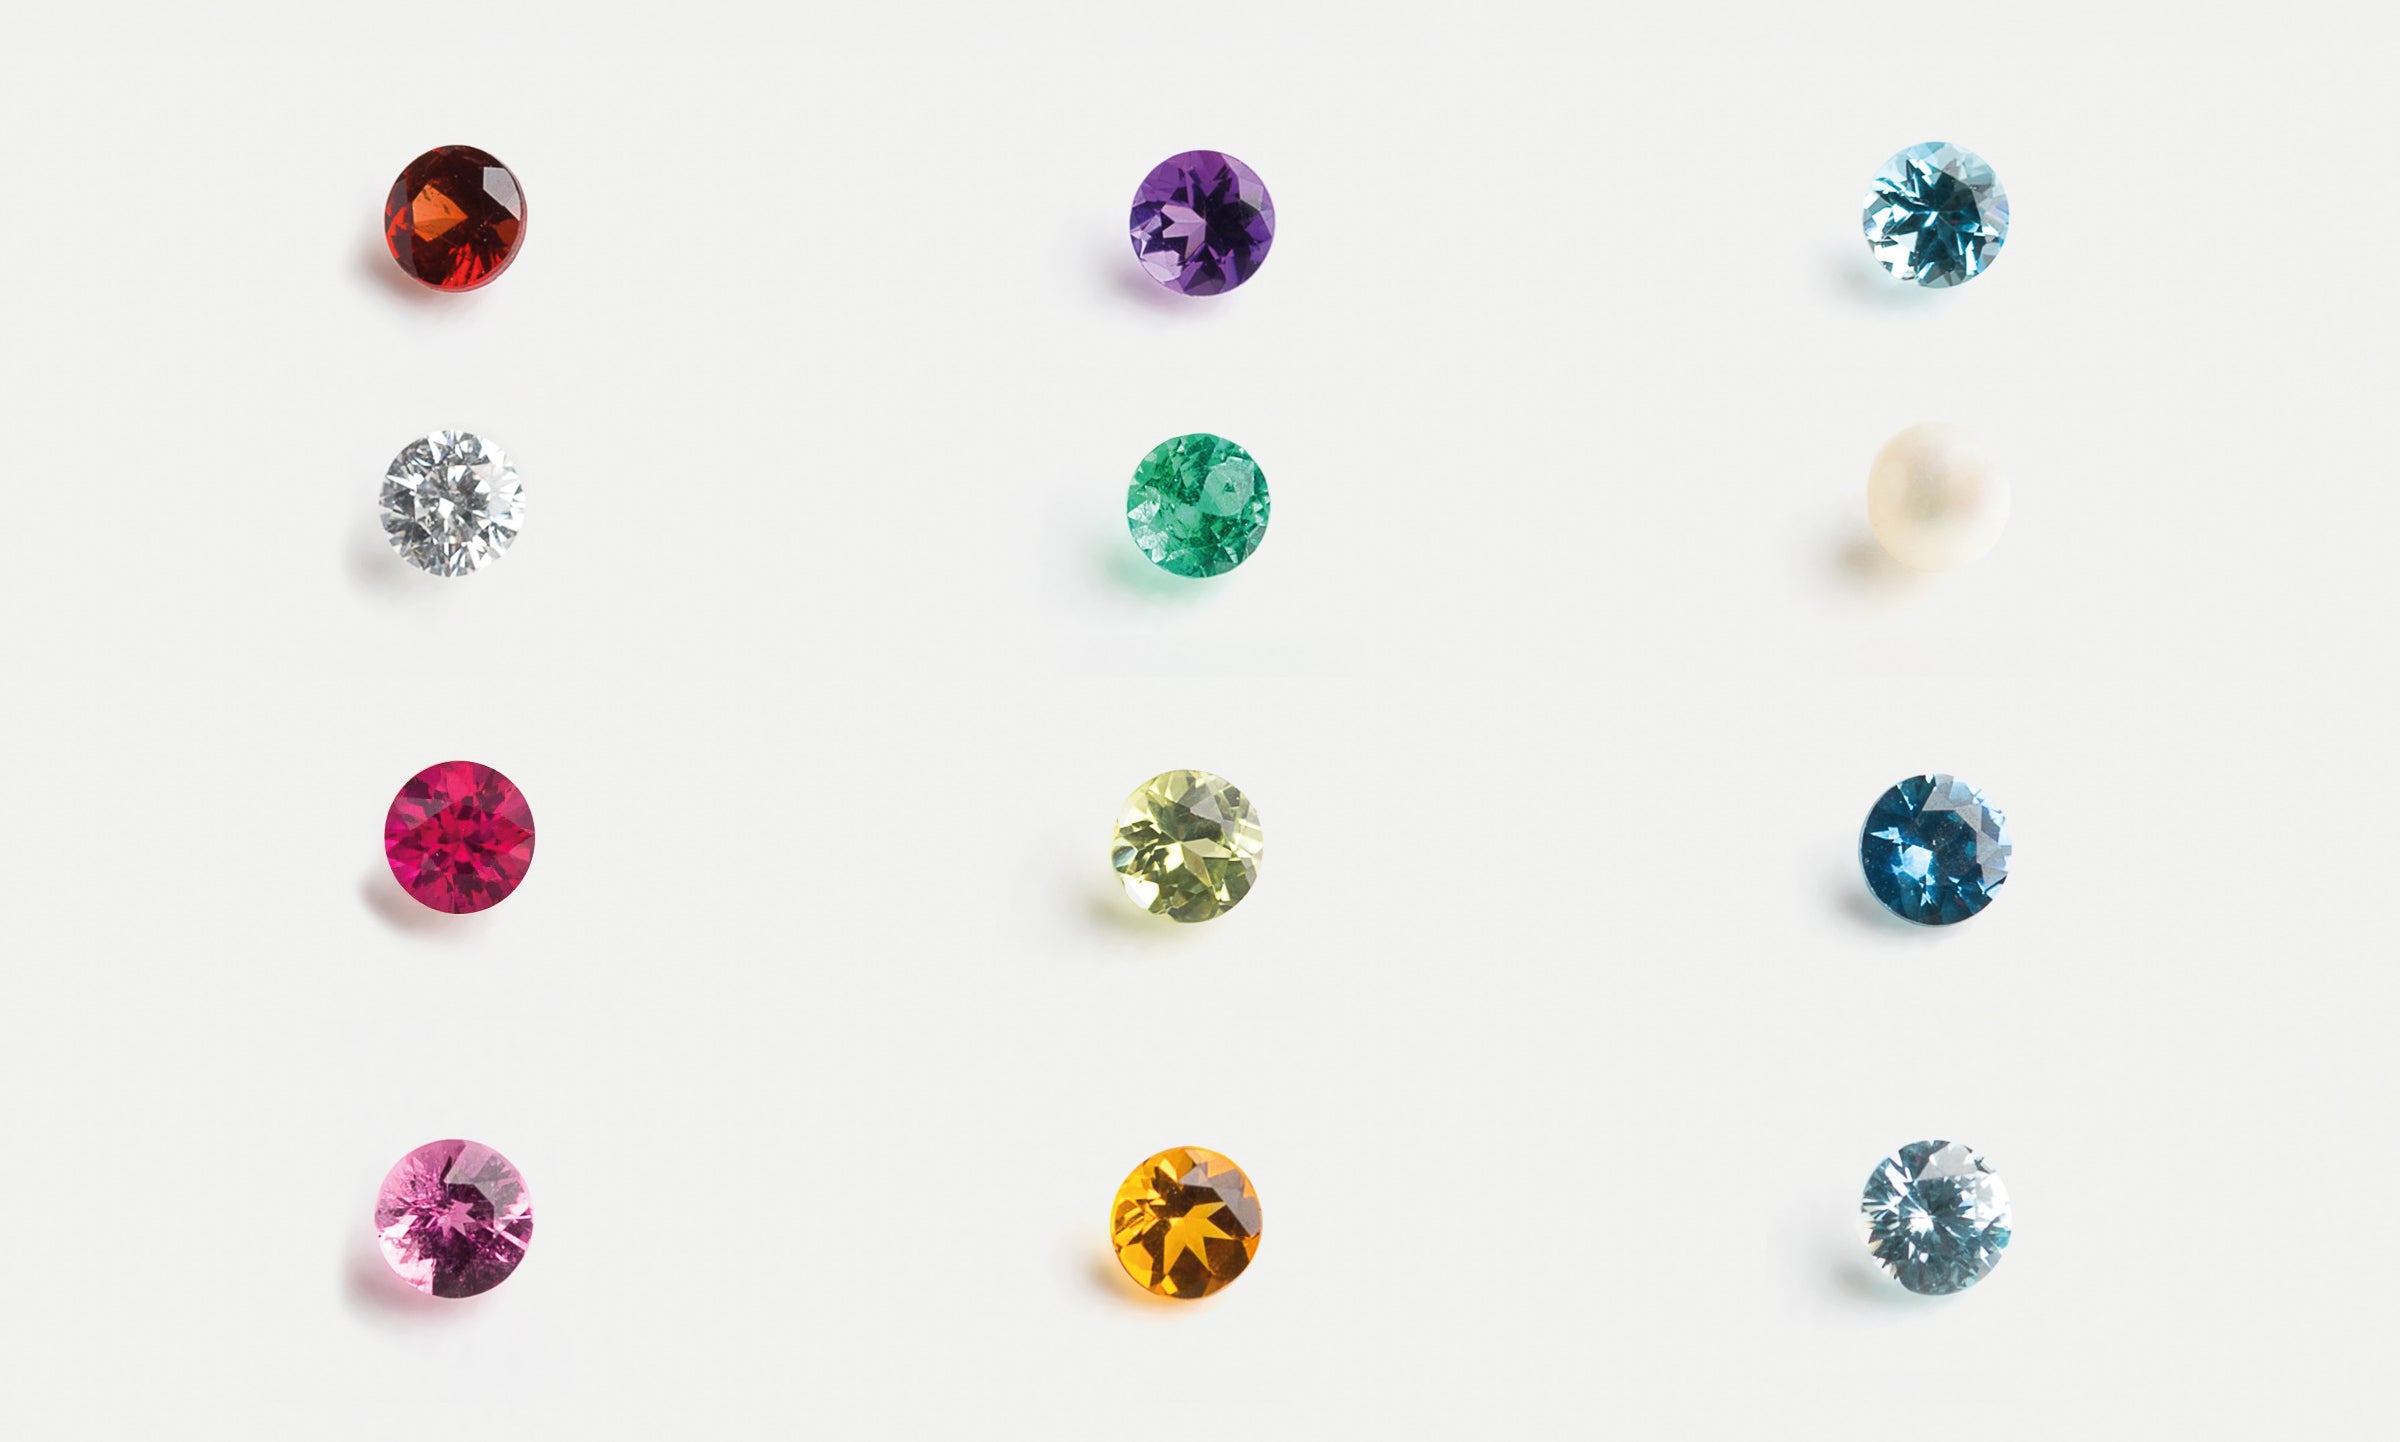
What backgrounds work best for crystals?
White or light grey for most listings; charcoal for very bright or clear pieces; a glass sheet adds a subtle premium reflection. Avoid busy patterns that steal attention.
```